Homemade Limoncello + Limoncello Label Set (Digital Download)

As I mentioned in this post, I had never tasted Limoncello before traveling to Italy. ( I am not a fan of sweet drinks or liquors so it had never really occurred to me to purchase it on my own.) But you know what they say, “When in Rome….” so I added Limoncello to my “must try” list for this trip. I love citrus, especially lemons, so I did love the sweet liquor when given the opportunity to try it, but it’s definitely only something that I could drink in small quantities.
In Capri, I had one of the most refreshing drinks I have ever had - a Limoncello Spritzer - and the way it was concocted made it so light and refreshing. I tried my own version here in the good ol’ USA and I think that after some tweaking it might be close to what I had in Capri.

To read how I made these, you can visit this blog post….but this article details how I made my first batch of limoncello from scratch. I knew that it was an easy process and requires only a few ingredients, so I did a little research and found that there are a few ways to make it. Basically, you soak lemon peels in alcohol - once the liquid has cured, you strain the lemon peels from the liquid and add simple syrup to sweeten it - I used bottles from amazon and the labeled them with custom labels that my business partner and I designed.

From what I learned, the most authentic way to make limoncello is to use pure alcohol as the base. However, during the pandemic I found it hard to find at our local liquor store and did not feel like putting in the extra effort to get my hands on some. (Not to mention, it felt a little sketchy asking around for such a potent libation and I did feel a little judged!). I decided to just use 100 proof vodka and it seems to have worked really well.
What you’ll need:
12 lemons, organic if possible
Vodka
airtight container for soaking
Simple Syrup
Bottles for storage
Labels

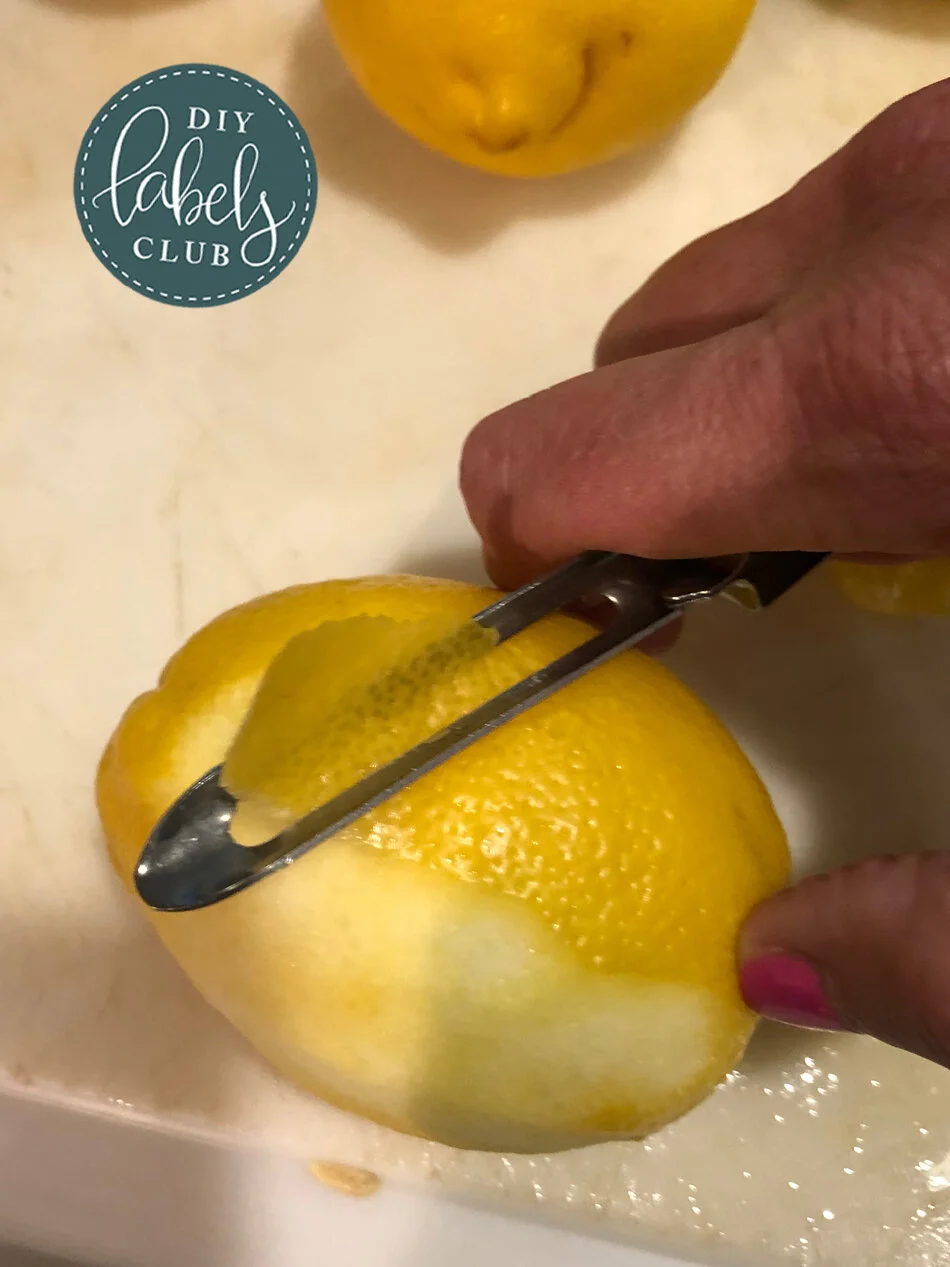
Peel the lemons, being sure to only get the peel - not the pith, or the white part of the peel. The pith is very bitter so it’s best to make sure that it’s not included with the peels.

Place all of the peels into an airtight container and pour the vodka (750 ml bottle) over top. Place top on container and let the container sit for 4 days - 3 weeks. Giada De Laurentiis makes hers in as quickly as 4 days, but mine did not smell lemony at the 4 day mark, nor did the color seem yellow - so I let mine sit for 3-4 weeks.

Limoncello color on day 1…

limoncello after 3-4 weeks…
Once I was ready to bottle the limoncello, I strained the lemon peels from the mixture and made a simple syrup.


To make the simple syrup, I heated 3 1/2 cups of water over low heat - you do not have to bring it to a boil or you risk burning your syrup and it will be brown! Add 2 1/2 cups of sugar to the water and stir it until dissolved.

Let the simple syrup mixture cool before mixing it into the limoncello.

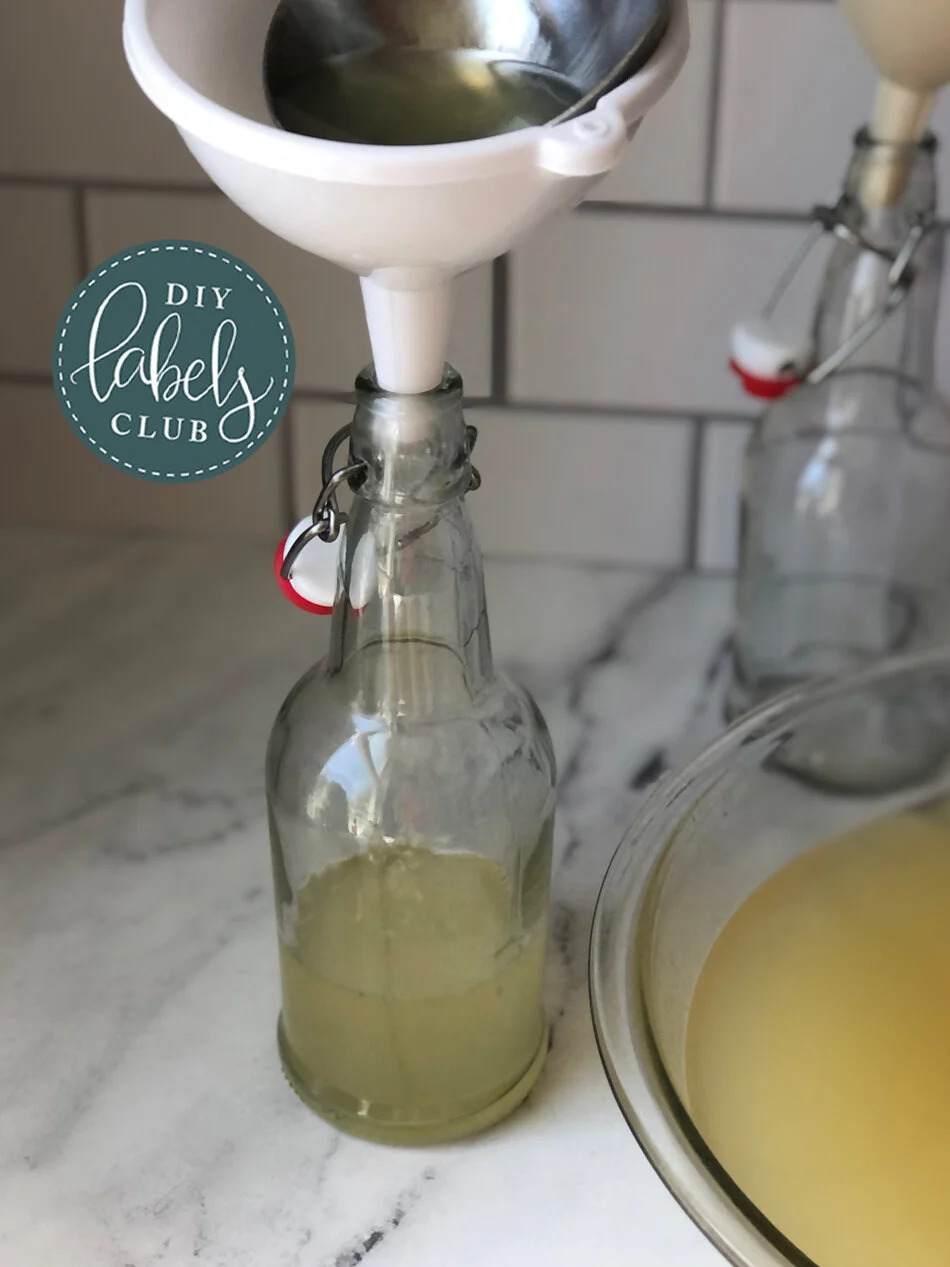
Stir the simple syrup into the limoncello and get ready to bottle it! I used a funnel and a ladle to pour the mixture into the bottles.
Once they were bottled, I wiped them down to get any drips of stickiness off the bottles and printed out these labels. The best part about these labels is that they give the option to write the “made on” date as well as instruct to store the limoncello in the freezer.


These labels are available in my shop and are illustrated by my dear friend, Paula Freeman of Paula Freeman Art.

